Overland Drawer System Build!

* I’ve got a lot of questions regarding the RIGID Professional Tool boxes that I use for storing my Overlanding gear. Check them out HERE!

Jeep xj overland.JPG
Overlanding Drawer.JPG

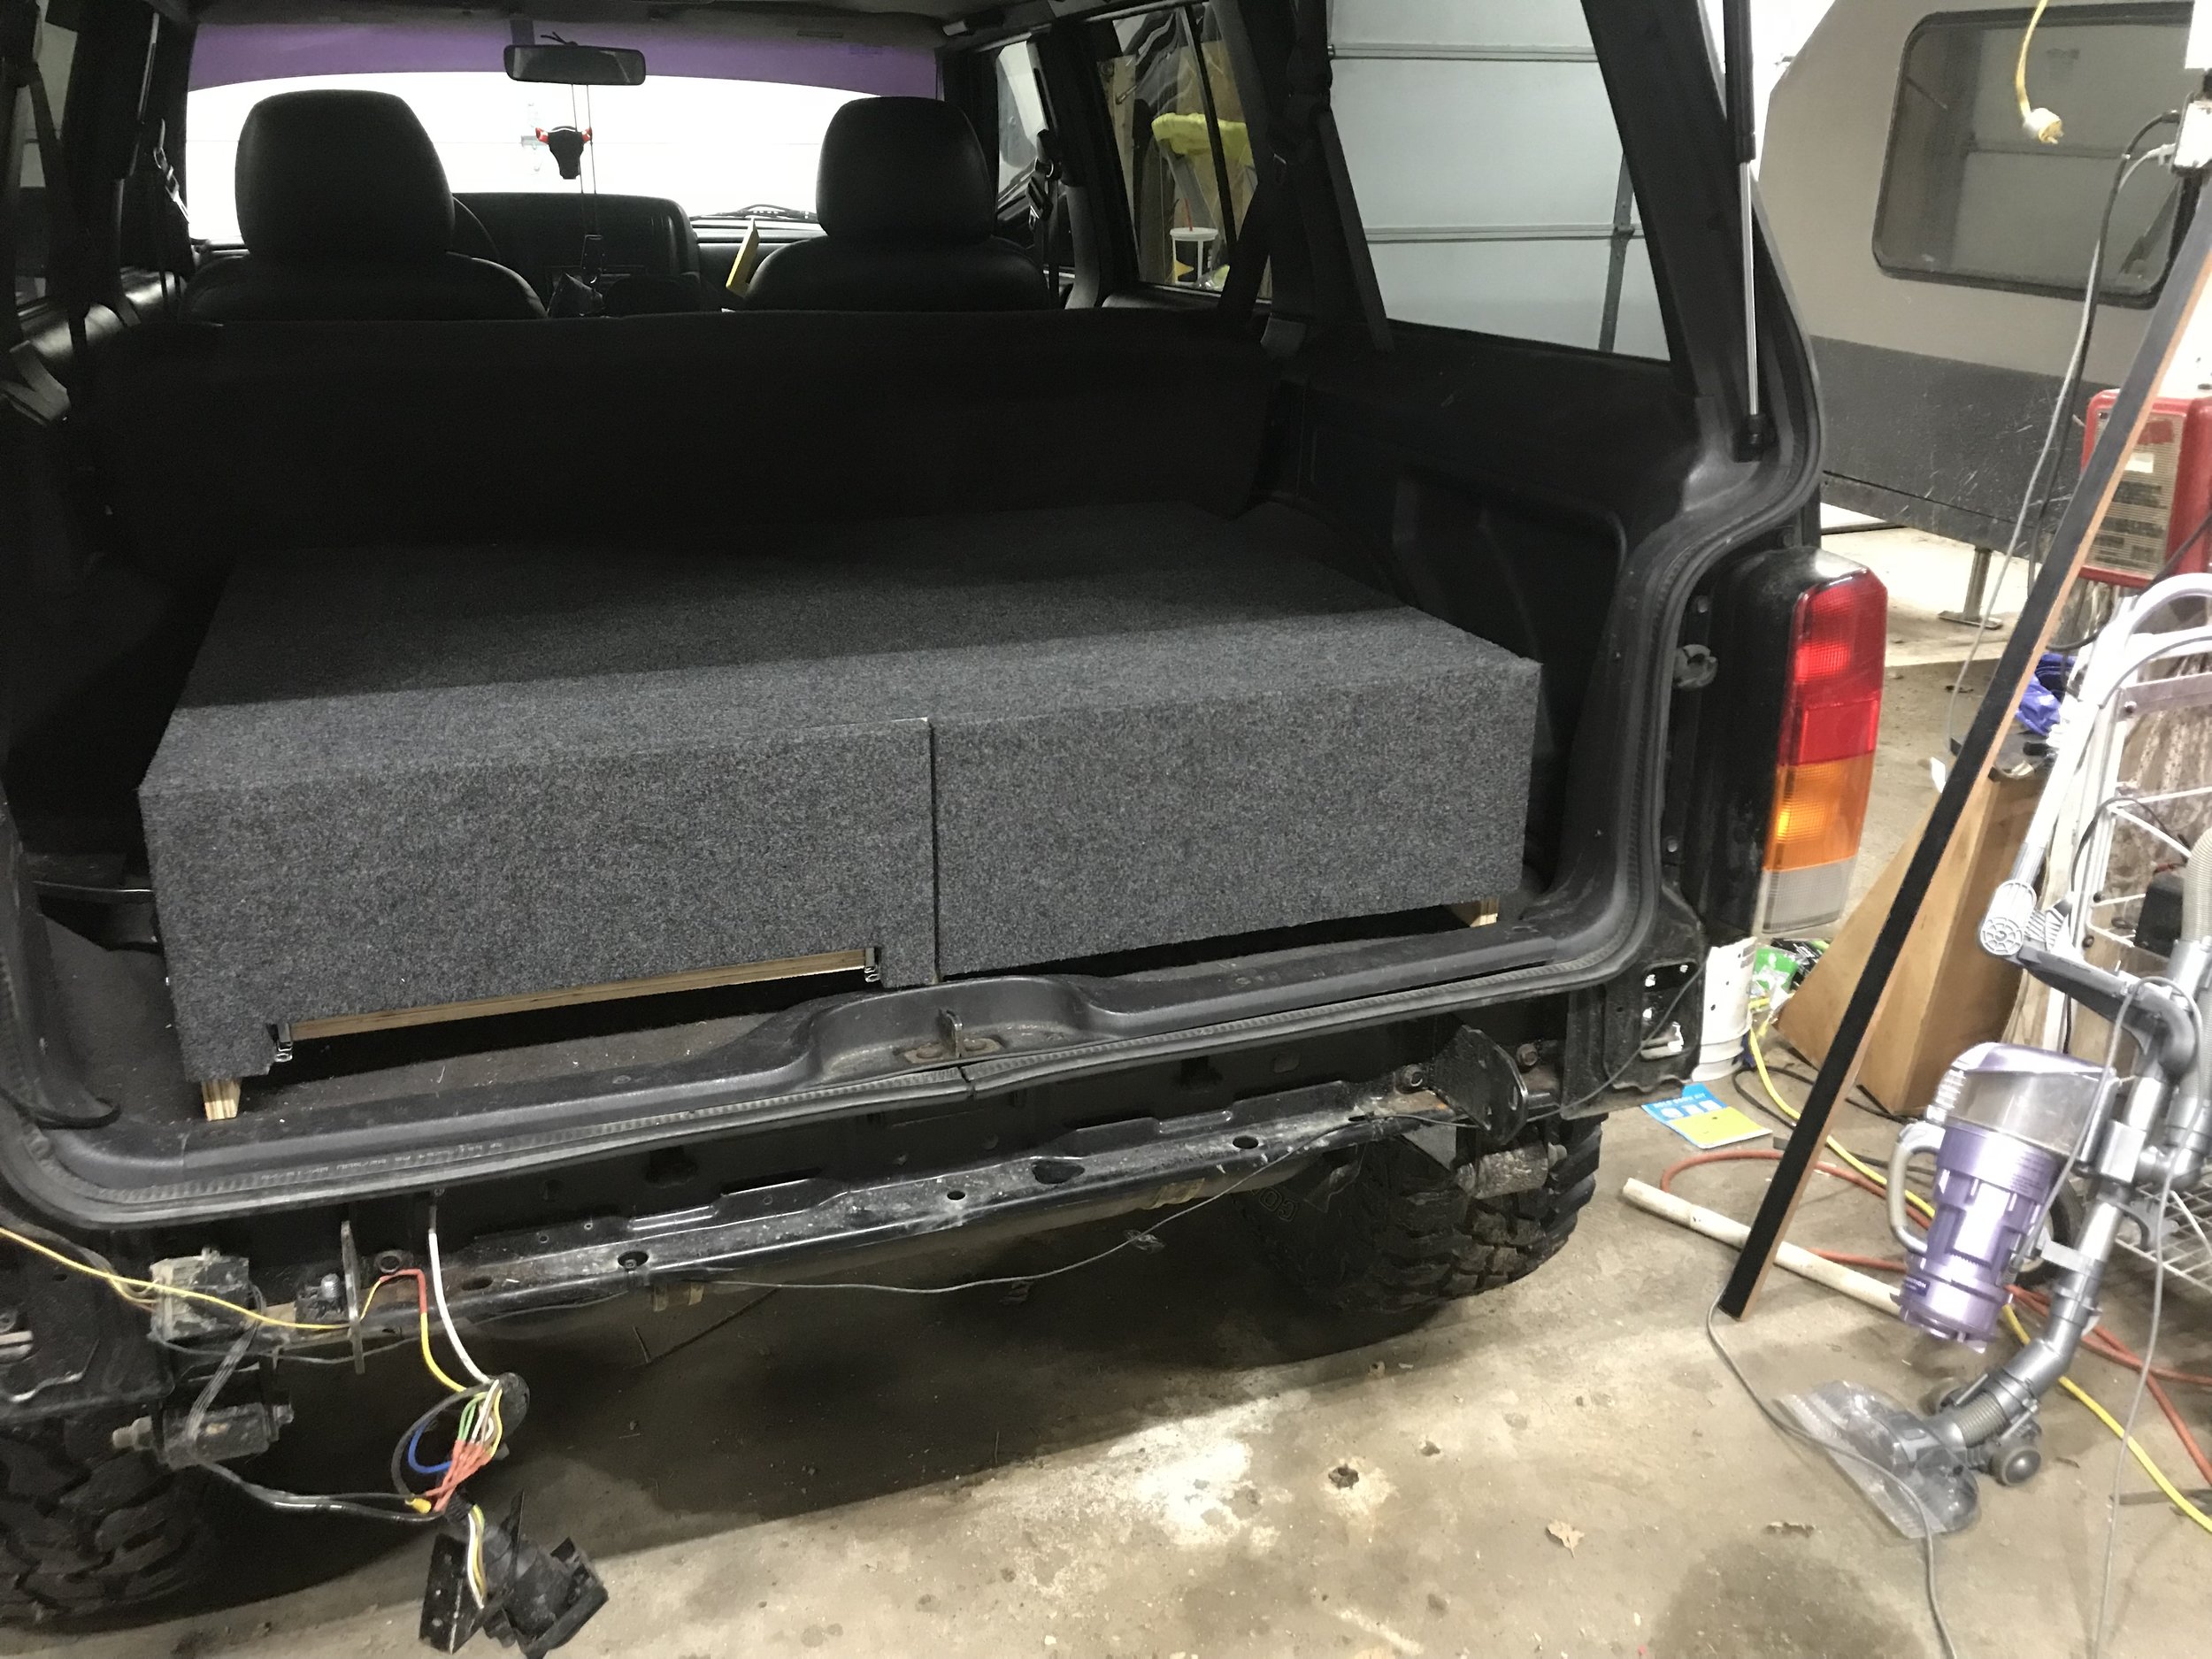
After a few trips off-roading and camping with a family of 5 it became very apparent that I needed a way to better organize our gear. So like many others before me I decided to build a drawer system to go into the back of my XJ. I started by building a plywood enclosure, which was basically two sides and a center divider all of the same dimension and a top and back piece to fit. I based my dimensions on my XJ. The requirements I had were to be able to fit between the fenders, fill up all the space between the gate and back seat and be able to secure it to the factory tie down points. After cutting all the pieces for the carcass, I assembled everything using a Kreg Jig and pocket screws.

Jeep Drawers.png

The next step was to build the drawers. There are a couple of things that you have to take into account when measuring for the drawers. First, depending on which drawer slides you are using you have to leave enough room for them. The slides I used required me to leave 1/2” on each side of the drawer for clearance. The other thing I had to take into account was the plastic lip on the rear of the Jeep. Because of this I couldn’t take full advantage of the height of the carcass because if I did the drawers wouldn’t be able to open. Once I was confident in my drawer sizes I again built them from plywood and used pocket hole joinery to build them. I also decided I wanted to build a slide out work surface into one of the drawers. The same process for sizing is required here as well. Once the drawers were built I mounted the drawer slides and did a test fit. A lot of people us locking drawer slides so they can lock the drawers in and out, but they are a little on the expensive side and I already had some standard full extension drawer slides so that is what I used along with a locking mechanism I will show below and honestly I haven’t seen the need for a more advanced system.


vlcsnap-2018-09-25-07h56m41s052.png
carpeted overland drawers.JPG

Once I knew everything was operational, I then cut 2 drawer fronts and covered them and the top of the box in carpet. I prefer to use speaker box carpet because it is easy to stretch and hides seams well. I chose charcoal because it matched my interior well, but there are several different options. To attach the carpet to the plywood I used 3M Super 77. It is a multipurpose spray adhesive that I have used for years, but there may be a more application specific spray out there. I did not cover the sides as I was originally planning on adding “wings” to the box to cover the gap around the fender well, but I have since sold the jeep and that never happened.


sash lock.jpg

The last step was to add a locking mechanism. I don’t have any close up pictures of this, but I added a cam action window sash lock to each of the drawers to hold them shut. I also used this method on the drawers in my Off-Road Overland Camper and they have worked great. To hold the drawers open, I simply drilled a hole through the drawer into the sides the diameter of a golf tee. When the drawer is fully open, I can push the golf tee in the hole and it holds the drawer out. When I’m ready to close it, I just pull the golf tee out about a half inch and the drawer will shut. Most of the time I don’t even use this feature. Only if I am parked on enough of a down hill slope that the drawer is trying to shut itself.

IMG_2366.JPG

Making a Survival Knife from a File!

file knife.jpg

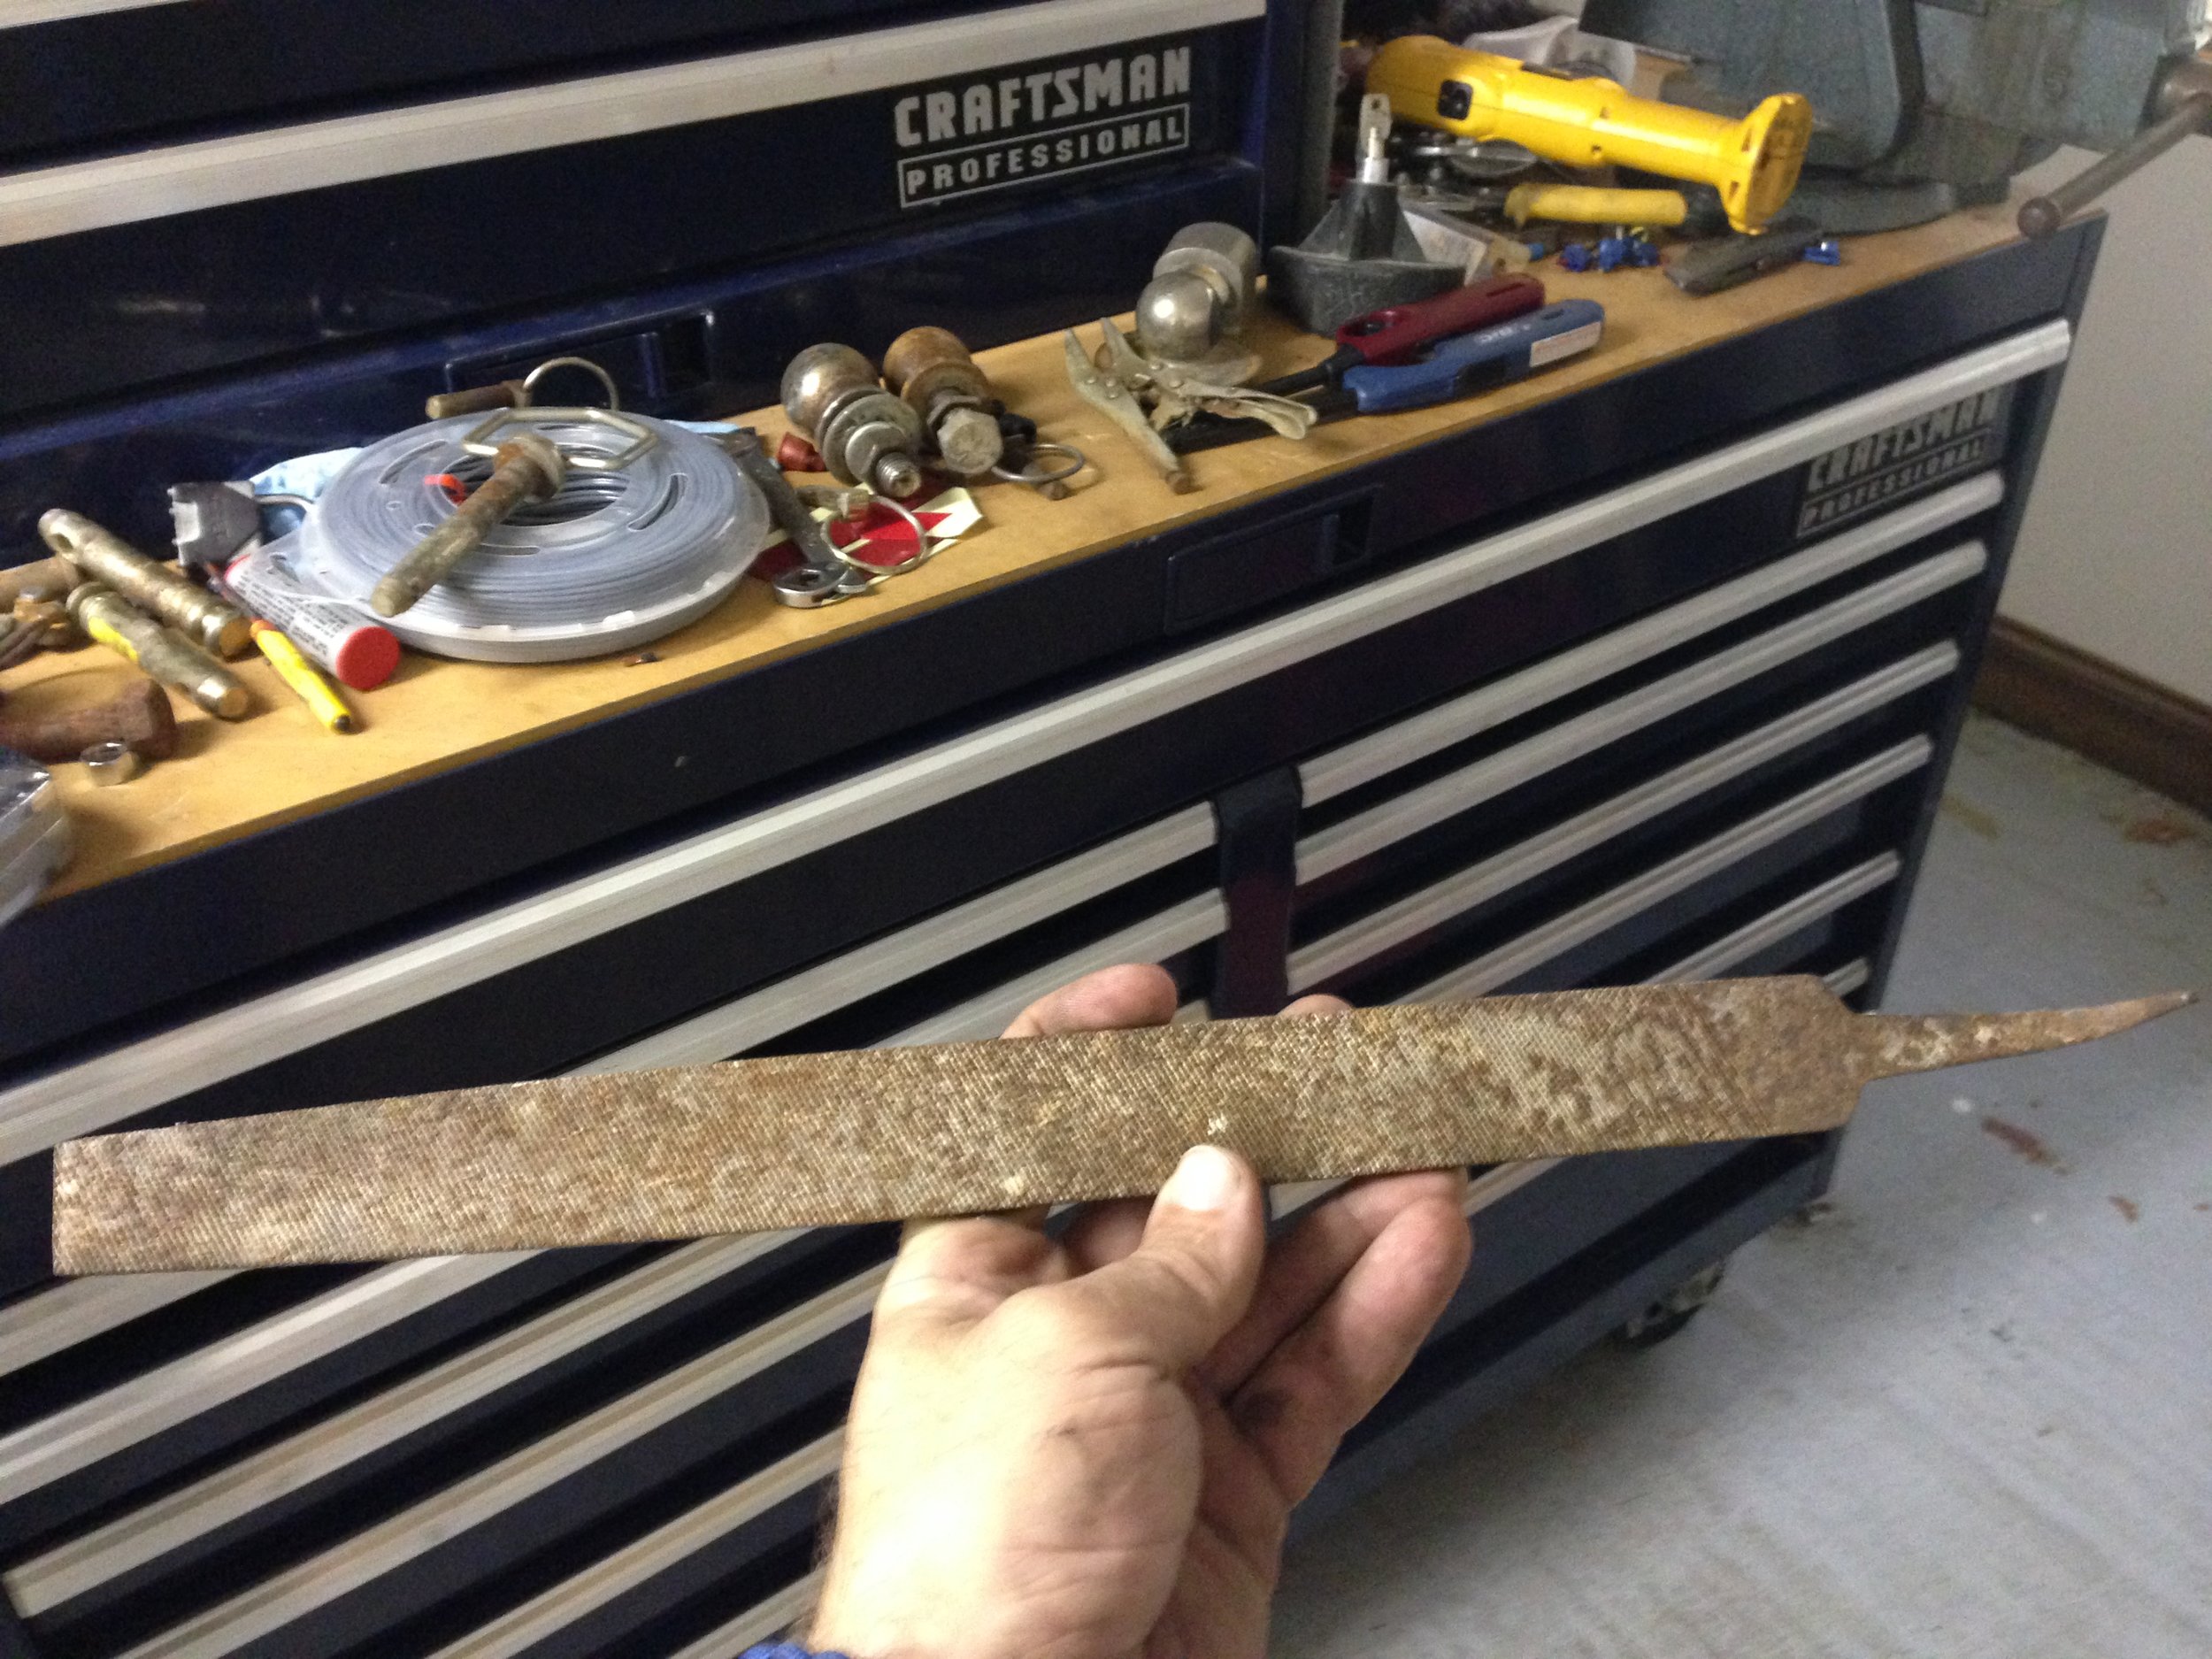
When we purchased our farm, we bought the property along with all the belongings that were there. The previous owner had lived there since the 60’s so as you can imagine there was a lot of junk that had been acquired as well as a few diamonds in the rough. While cleaning one of the sheds I found a very large file that had long since seen its better days. As I was about to throw it away, I hesitated. I had always wanted to make a knife, but all of the old files I had were too small to make a knife that I would want so I saw this as my chance.

charcoal grill forge.jpg
bushcraft knife.jpg

I had an old charcoal grill that I shortened the legs on and removed the top to make a DIY forge. I used charcoal and a leaf blower to heat the file up until it was no longer attracted to a magnet in order to soften it enough to be able to shape it. Once it had cooled I proceeded to cut out a shape that was pleasing both to the eye and the hand. Once I settled on a shape that I liked, I began to sharpen the blade. This was a long slow process and I was careful to try and make the blade as symmetric as possible. The last step of the blade portion was to heat the blade back up and then quickly quench it in Vegetable oil being careful not to drop it as it would be extremely brittle at this stage. I then tempered it in the oven to reach a delicate balance between too brittle and too soft.

DIY knife sheath.jpg

Now that the blade was finished it was time to finish the knife. I chose a nice burled piece of wood for the scales and used brass pins along with epoxy to attach them. I shaped the scales to fit my hand and then added a patina to the blade by leaving it embedded in a potato over night.

Having finished the knife I started making a sheath for it. I purchased some 8oz oil tanned veg tan leather remnants and layered it 3 layers thick with the center layer being hollowed out to the shape of the knive. Once the glue had cured I then pre-drilled the seams before stitching them. I added a small pouch in the front with loops so that I could carry a large ferro rod, a flashlight and an Altoids tin to carry tinder.

Once everything was finished the last thing to do was to put the finished edge on the blade. If you haven’t got yourself a set of diamond stones you are missing out!

diy knife from file.jpg


DIY Hammock and RainFly!

2013-10-20 17.29.29.jpg

Everything I know about making a hammock and a rainfly I leared from one person, SHUG. Shug is a youtuber who loves to camp in his hammock. You can check out his youtube page here to learn more about making your own.

tDv96FQ.jpg

Building the Off-Road Overlanding Camper!

CLICK HERE TO WATCH THE FIRST OF TWO BUILD VIDEOS!

CLICK HERE TO WATCH THE TWO YEAR WALK AROUND VIDEO!

CLICK HERE TO WATCH THE SECOND OF TWO BUILD VIDEOS!

CLICK HERE TO SEE PICTURES OF THE OFF-ROAD OVERLAND CAMPER IN ACTION!

CLICK HERE TO SEE PICTURES OF THE OFF-ROAD OVERLAND CAMPER IN ACTION!

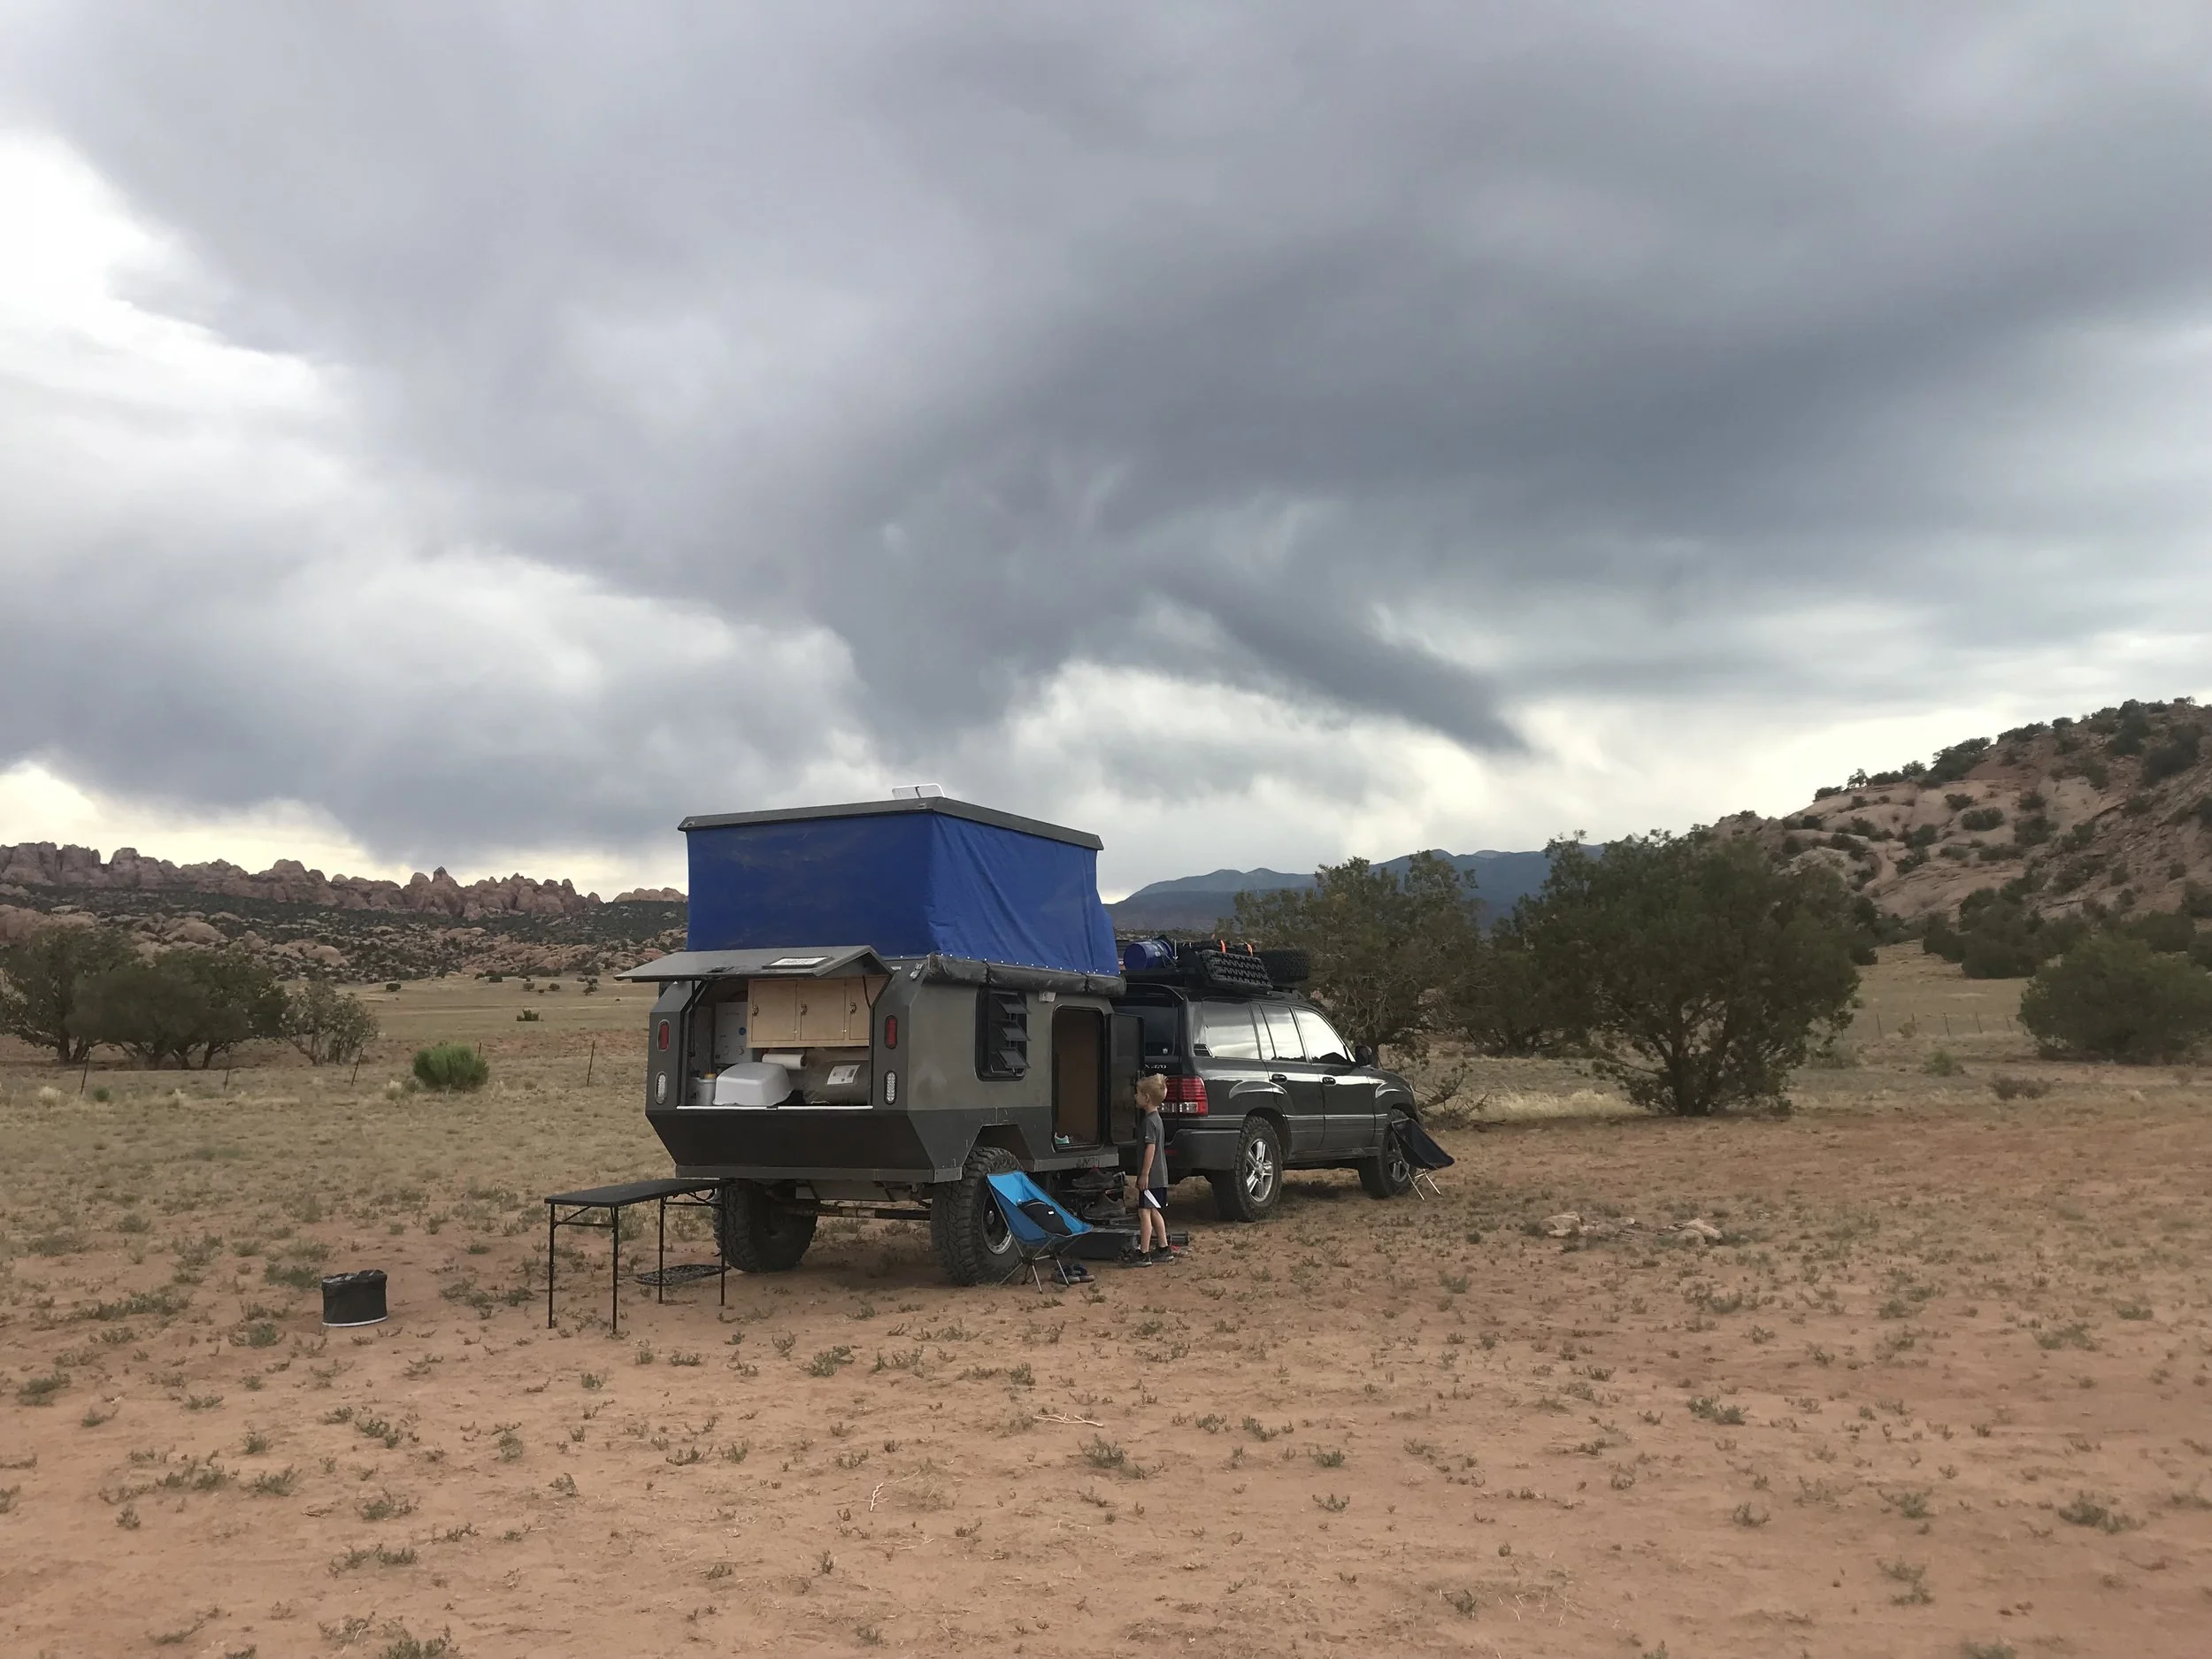
In September of 2017 I decided that I was going to build an Off-road capable camper that could sleep my family of 5 on Overlanding trips. At some point while diving into the deep dark corners of the interwebs I had seen a van that had a tonneau cover for the roof so they could open the roof if they wanted. For some reason this image had been hiding in the back of my mind for who knows how long. At this point in time i also happen to have a tri-fold tonneau cover for a 2010 F250 sitting in my workshop that a friend had given me. By some stroke of luck that day while thinking about a trailer design I happen to remember the van while looking at the tonneau cover at the same time. It was at this point that the idea of a Poptop came to mind. I had planned on using the tonneau cover as the roof and use struts to lift it up at around a 30-40 degree angle to make the pop top and if I wanted i could remove the vinyl and have a view of the sky. Like most initial concepts this quickly fell by the wayside and the tonneau cover that was the origin of the entire design was quickly abandoned, but the idea locomotive was full steam ahead!

overland camper.jpg

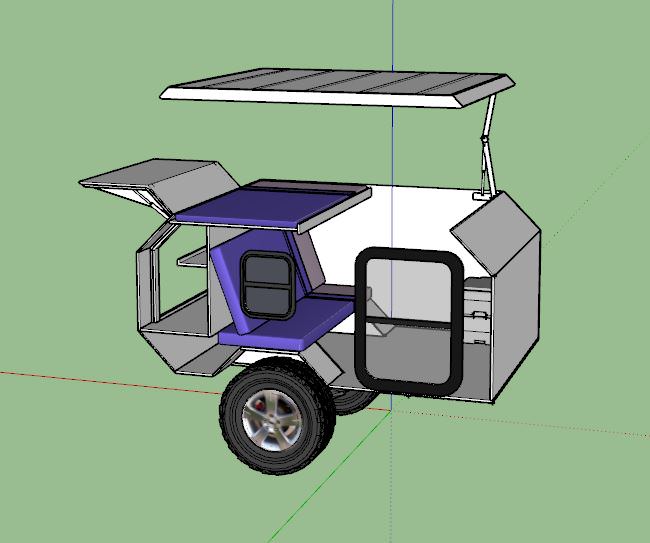
I spent many hours in google sketchup making different models trying different layouts to accommodate my family of 5. After many iterations, this is the design I settled upon before I got started. Although the design didn’t have all of the details worked out, it was enough to get me started and I would figure the details out as I went.

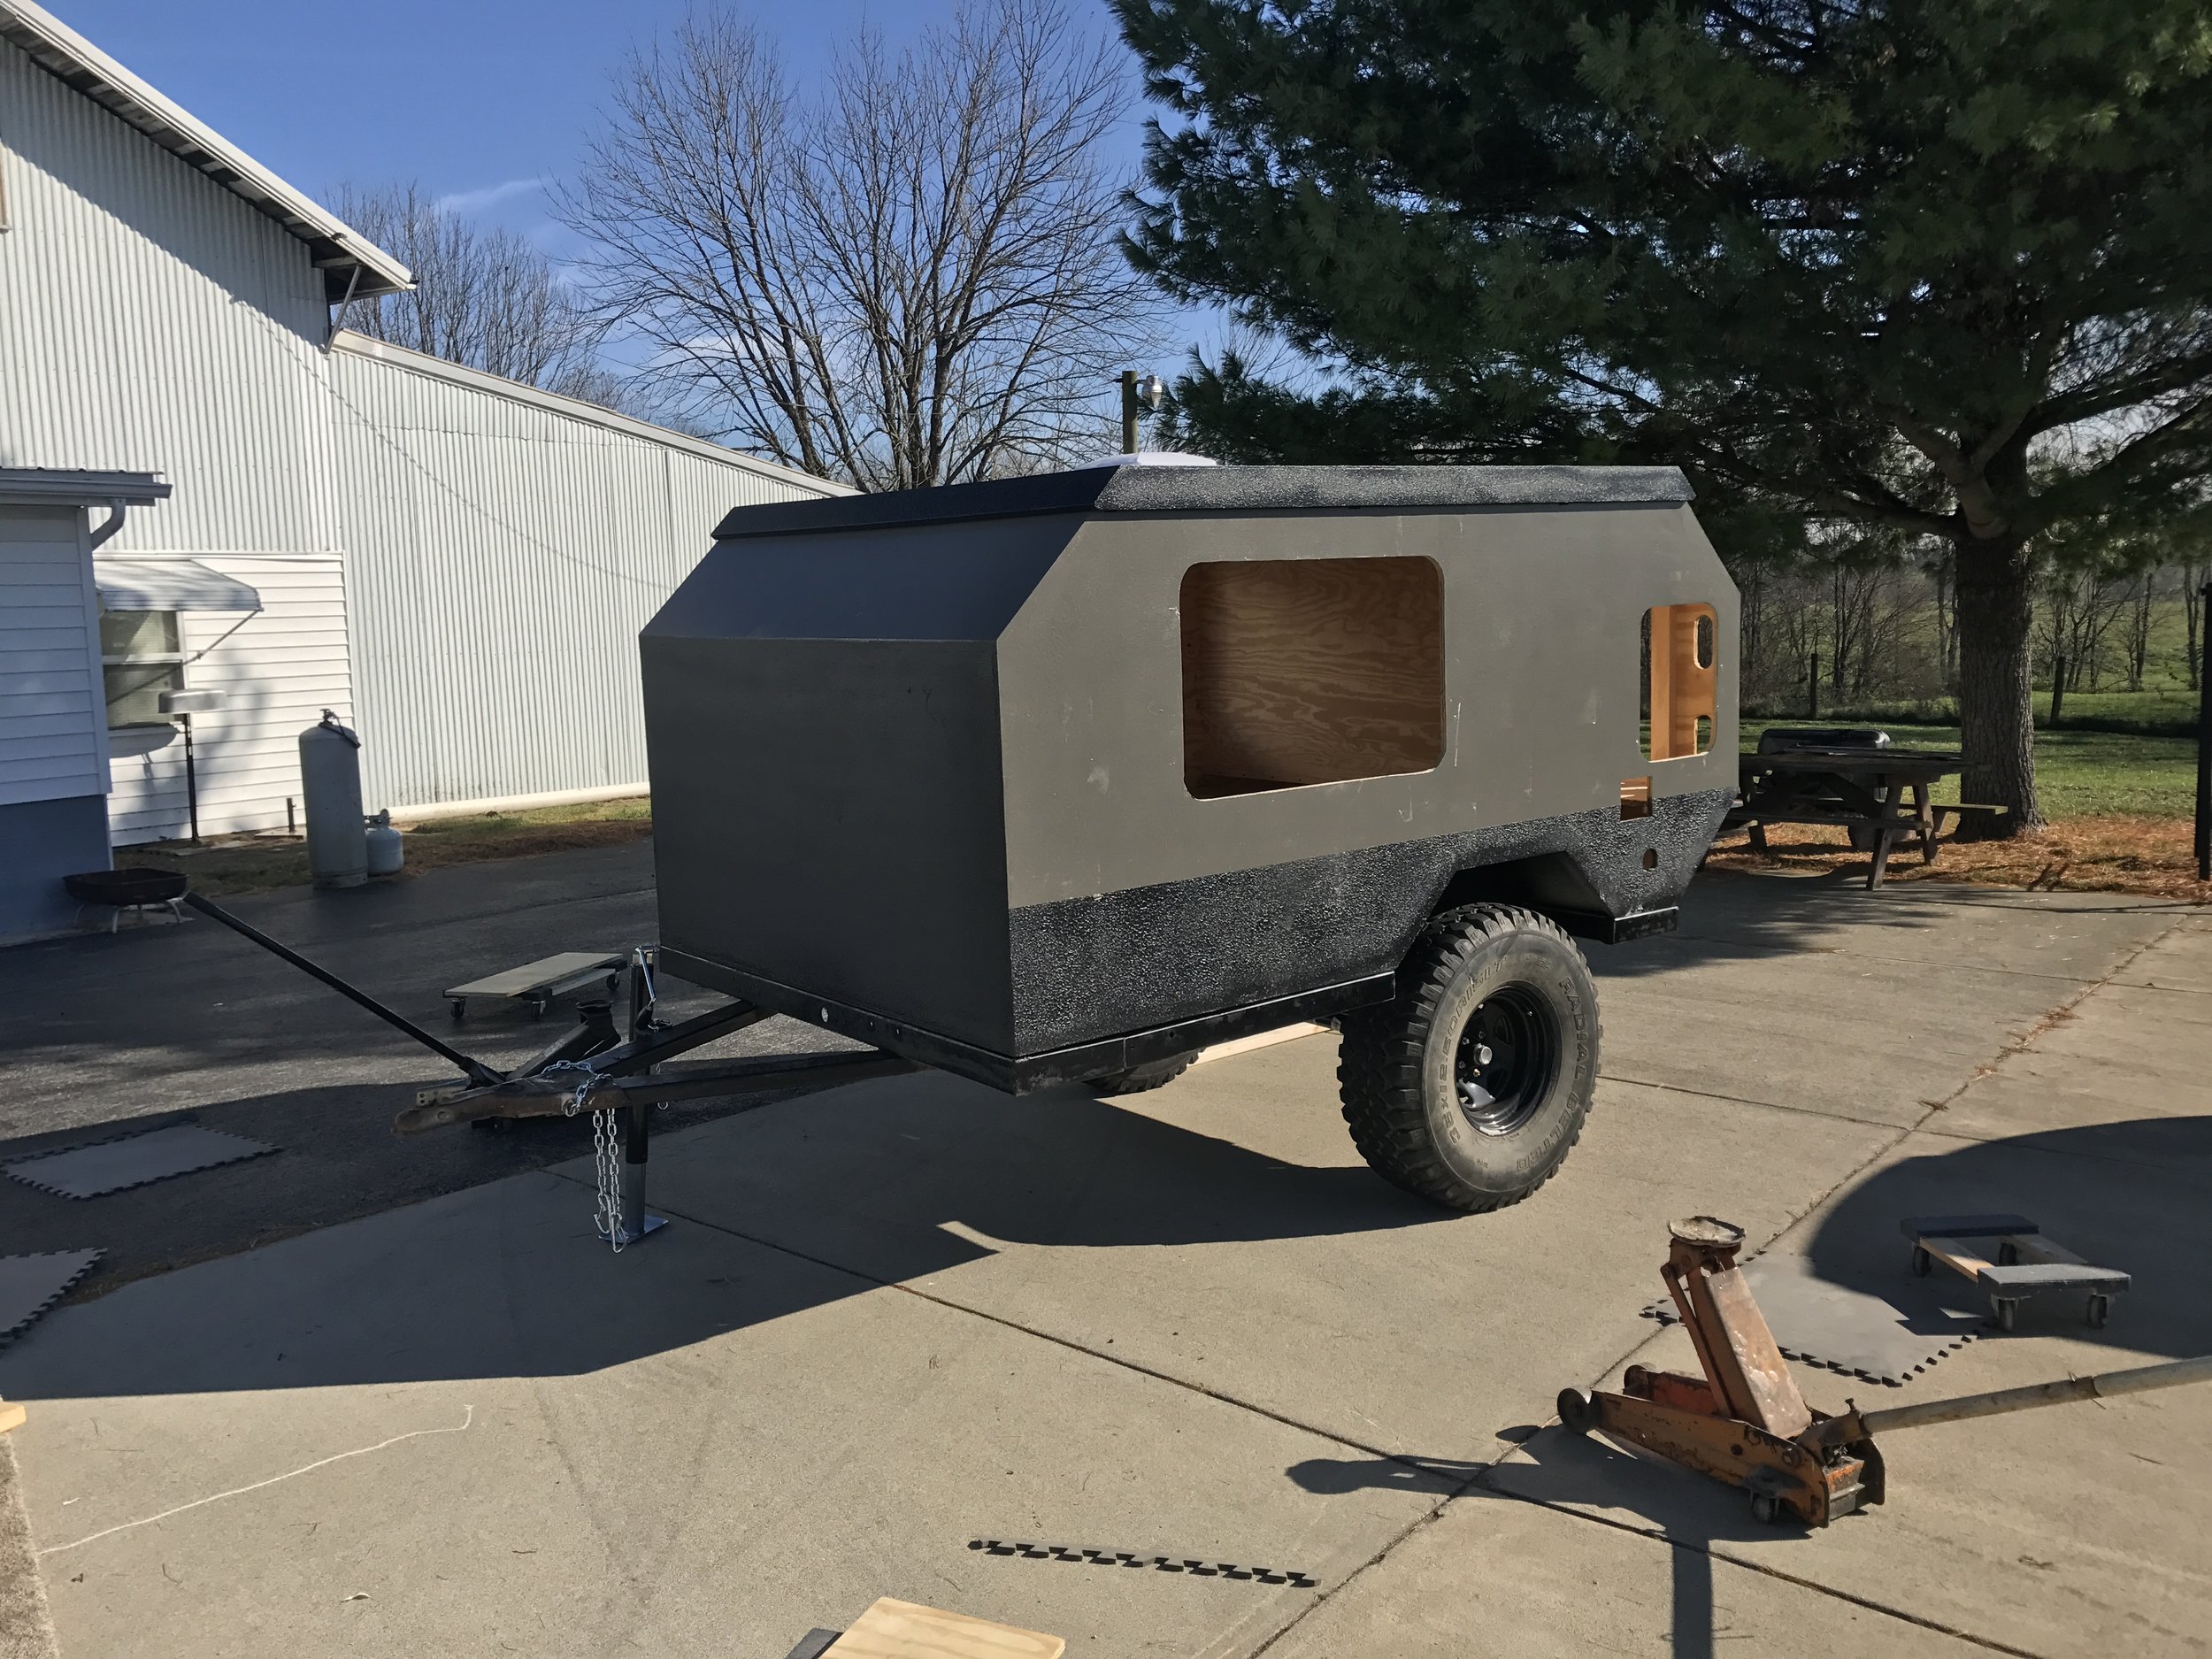
I started the project by building the wooden body first. Every other trailer build I have seen, the builder starts with the trailer and then builds his camper piece by piece on top of the trailer frame. I had a few reasons that kept me from doing it this way. The first was the location of my tools. I have a really nice and well equipped woodshop and it seemed that it would be a lot easier on me to build it in a climate controlled shop with all of my tools at my finger tips. The second reason was that I was planning on using an old trailer I already had at first, with hopes to build a new trailer with a better suspension in the future. The last and most important reason was that I wanted to fiberglass the entire body to make it waterproof. I wasn’t sure how I could do this if the body was already mounted to the trailer. Although this method has been questioned a lot, I still stand by my decision.

Building the Camper Body

offroad camper.JPG

The body build went extremely fast. It was as simple as laying out the design on the plywood and using my tracksaw and then screwing the panels together. For the initial build I simply predrilled into the plywood and attached it all using screws. Once the body was completely assembled and I was happy with the layout I went back and glued in corner blocks into all the inside corners for a more permanent bond. It was extremely satisfying to see the trailer take shape. The table I was building the camper on happened to be close to the actual planned ride height of the finished trailer so I couldn’t resist bringing in a tire to get a sneak peak at how it would look.

IMG_1403.JPG

Once the body was built it was on to the difficult task of making the pop top. This has proved to be the most difficult part of the entire build and I am still considering making a radical design change to the current iteration. There are many forces going on during the lifting and lowering process as well as from the wind when in the upright position, so it isn’t as simple as it may seem.

IMG_1418.JPG

In this picture I had temporary supports holding the top up as I worked out measurements and geometry. I wanted a system that didn’t require much effort to lift but also didn’t require much force to lower. After ordering many different lift arms, i finally got a combination that seemed to be right and I finally had a working pop top.

Fiberglassing the Camper

fiberglass.png

With the body work finished, it was time to start focusing on waterproofing and paint. I started off by disassembling the roof and lift arms and started fiberglassing. Over the years i have had done several projects that involved fiberglass. When I was 19 I built a sailboat and many times in high school and in college i built sub woofer boxes for my self and friends. The one thing I have come to realize about fiberglass from all these projects is that I HATE FIBERGLASS! It stinks, its difficult to work and the glass fibers get everywhere. It has been almost a year since I laid the fiberglass on the camper and i am still itching from glass fiber when i work in my shop! As much as I hate fiberglass, I can’t think of a better way to waterproof an off-road camper. It is waterproof and flexible, what more can you ask for.

raptor liner.JPG

When it came to paint, i wanted a durable finish. For this reason I chose tractor paint. It is an oil based product that is extremely durable and meant for a piece of equipment that sits outside its entire life. The only downside is that it only comes in certain colors. For my project I chose Massey Ferguson Gray. For the roof, fender wells and bottom of the trailer, I wanted added protection. For these areas I sprayed U-POL Raptor Liner on top of the fiberglass. It created a durable rubberized layer, but it takes a lot to build up any amount of thickness.

Building the Trailer Frame

trailer frame.JPG
overland camper.JPG

At this point, I turned my attention to the trailer. I had an existing trailer that I was going to use, but it needed a new axle and would require a lot of modification to make it fit the camper body. I ordered an axle with a hub to hub spacing that matched my XJ so the tires would follow in the same tracks as the Jeep. This worked good for the Jeep, but now that I have sold the jeep, it doesn’t really matter. I also ordered an axle with brakes. The jeep brakes didn’t work very well as it was with the big tires and with a trip to Colorado planned I didn’t want to be coming down a 13,000 foot mountain towing a 3000lb trailer relying on the jeep’s brakes alone. Once all the welding was finished, the brakes were installed and the tires were mounted it was time to carry the camper body out of the workshop and bolt it onto the trailer frame. After getting the body mounted i installed the doors and windows. Although it was far from finished at this point it was usable and that is just what I did. The next day, my son and I took it on its maiden voyage. We slept on the floor, but we had a roof over our head!

DIY CAMPING TRAILER.JPG

Adding Heat to the Trailer

wave 6 heater.JPG

Now that the easy part was done, it was time to finish the build. A lot of people look at me strange when I say this, but I had it from non existent to the point you see above in around a month. It then took me another 6 months to finish all the details. With it getting close to winter, my first priority was to get a propane tank and heater installed. Now that I was no longer able to fit the camper in my woodshop, that meant I would have to finish the rest of the work in the garage portion of my workshop that wasn’t heated, so having a heater in the camper would also make it easier to work. I installed a wall mount Wave 6 Catalytic safety heater. This heater doesn’t blow hot air around, it produces radiant heat. I chose this type of heater due to safety reasons. That being said, I also have 2 CO detectors, I know that 2 is probably overkill, especially since with the fabric pop-top we are well ventilated but I am carrying very precious cargo and I want to make sure they wake up in the morning! I have been very pleased with the Wave 6, I would say the only issue is keeping it from over heating the space.

Sleeping Sideways

convertable bed

I also wanted to get the bed installed so I wouldn’t have to sleep directly on the floor for the next trip. In my design, everyone would be sleeping perpendicular to the direction of the trailer as opposed to parallel like every other teardrop type trailer I have seen, luckily we are a short family. What I wanted was a couch that converts to a bed, it has proved nice to have a place to sit down and rest while camping. I constructed the bed from a series of 1x2’s with every other one being attached to a separate frame. This way they would slide between one another and effectively double the size of the platform if one frame was pulled out. I installed the bed into the camper using a piano hing in the back and allowing the sides to rest on the fender wells. The fender wells offer more than enough support for the bed when it is couch mode. Eventually drawers that go under the bed would act as a support when the bed was pulled out, but at this point I fabricated 2 flip down legs to support the bed so that I could continue using the camper.

Putting the Off-road Overland Camper to the Test

offroad teardrop

At this point, it was time to take the camper on its next trip! This would be a real test of the capability of the trailer as we were taking it on what is referred to as the Kentucky Adventure Tour which has several difficult 4x4 trails. It was also early January and the weather was forecast to be 0F which it was!


 DIY Ensuite Shower Enclosure!

While building the Off-road Overland Camper, I knew that I wanted to incorporate the ability to take a hot shower. My original idea was to purchase a popup tent and just set it up beside the access to the shower head, and although this would have been simple to execute, it would have required a place to store a potentially wet enclosure and it definitely wouldn’t win any style points. While scouring the internet for ideas, I came across a company called Quick Pitch. They have a product called the Quick Pitch Ensuite and it was exactly what I wanted! Unfortunately at the time the were not available in the states although they were coming soon and once I saw the price, I decided that it would be best to build my own.

The first step was figuring out how big I wanted my finished tent to be. After laying out some squares on the floor I decided I wanted the finished size to be between 36 and 42 inches. The next step was to figure out a case that was similar in dimensions that was somewhat weather proof. After spending some time searching online I settled on a short rifle case. This would allow me to easily fit a 36” enclosure and still have room to hold the shower curtain as well.

For the portion of the frame that extended away from the case, I wanted something that was strong but at the same time light so deflection would be minimized. For this I chose aluminum C channel. The rear portion of the frame has brackets welded to attach the fold out framework to, and also supports the mounting hardware for attaching the ensuite to the trailer.

There is nothing inherently difficult about the way the ensuite folds out. It is actually amazingly simple. That being said, it did take some time and a little bit of thinking to figure out the geometry required to get everything working properly. Once I had everything cut and bolted together I mounted the structure to a wall in my barn to test out the idea.

Once the frame geometry was locked in I took some final measurements so that I could start making the shower curtain. I made the curtain from 70 Denier Nylon Ripstop. To make it, I hemmed the top and bottom of the curtain. In the bottom hem, I enclosed an aluminum Rod. This serves two purposes, first to define the shape of the enclosure from top to bottom and secondly to add weight to the curtain to aid in keeping the curtain in place in light wind when it is not staked down. Along the top I evenly spaced 18” lengths of Nylon Strap to serve as a way to attach the curtain to the Frame as well as a way to adjust the length of the curtain.

The last step in the build process was to make a way to attach the straps to the aluminum C channel. I decided the best way would be to make 2 parallel slots in the aluminum for each strap so that you could adjust them the same way you adjust a strap on a backpack where the friction of the strap holds everything in place. To do this I used a 1/4” upcut spiral bit in my router table. and carefully marked out the locations of the slots and routed them into the channel. One word of advice is to go slow and take your time. Aluminum machines well with woodworking tools, but can be a little unpredictable at times. Once everything was completely assembled the only thing left to do was to mount the unit to the trailer.

Shortly after the ensuite was completed I took the trailer on a 19 day trip from Kentucky, through Colorado, Utah, Wyoming, South Dakota and many others. The majority of this trip was offroad and in very dusty dirty conditions. Being able to quickly and easily take a hot shower made such a difference in the experience. Many nights I stood in the middle of nowhere staring out at some of the most majestic scenery I’ve ever encountered while taking a hot shower. It was amazing!

The Ultimate Camp Kitchen!

I have always loved organization. Anytime I can build something to better organize my gear, I get real excited. So as my family grew and the amount of cooking gear I needed while camping also grew, I began looking for options for storage. I started looking online and found many options, from a simple tote to elaborate setups. I had a friend that had a Cabela’s Camp Kitchen and although I liked how it worked when it was set up, I didn’t like that you had to store your gear separate. While scouring youtube I came across a video or two of very similar chuck boxes to my own, but none of them had everything I wanted. Some of my requirements were a setup where everything was stored how it would be used. The storage system, needed to be the “camp kitchen” and I wanted a large work surface. So many chuck boxes have no other work surface other than the stove surface. I also wanted drawers. I designed this chuck box around my Coleman Stove, Sterlite drawers and paper towel holder. Everything else got fitted after the original design. If you are interested in building one yourself, CLICK HERE for plans.

 Spartan Automatic Locker Install!

I wasted no time getting my 1999 XJ dirty. I purchased my jeep on a Friday around 2:00 pm. By 6:00 pm I was in the Red River Gorge in Slade, KY camping with my family with plans of Off-roading on the following day. As quick as I was to get the jeep off-road, I was equally as quick to decided I wanted lockers. I knew I wanted automatic lockers for several reasons, the first of these reasons being price. For around $250.00 each you can get a Spartan Automatic Locker that you can easily install yourself in a matter of a few hours. Selectable lockers are nice for a daily driver, but they require either air or electric to operate which adds cost and increases the number of things that can fail. I also like the fact that with Automatic Locker will work when you need them and when you don’t need them they are almost unnoticeable. I have driven vehicles with electric lockers and so many times I would forget to turn the locker on until I needed it. Then, I would have to remember to turn it back off so that I could steer!

Tilting Fridge Slide!