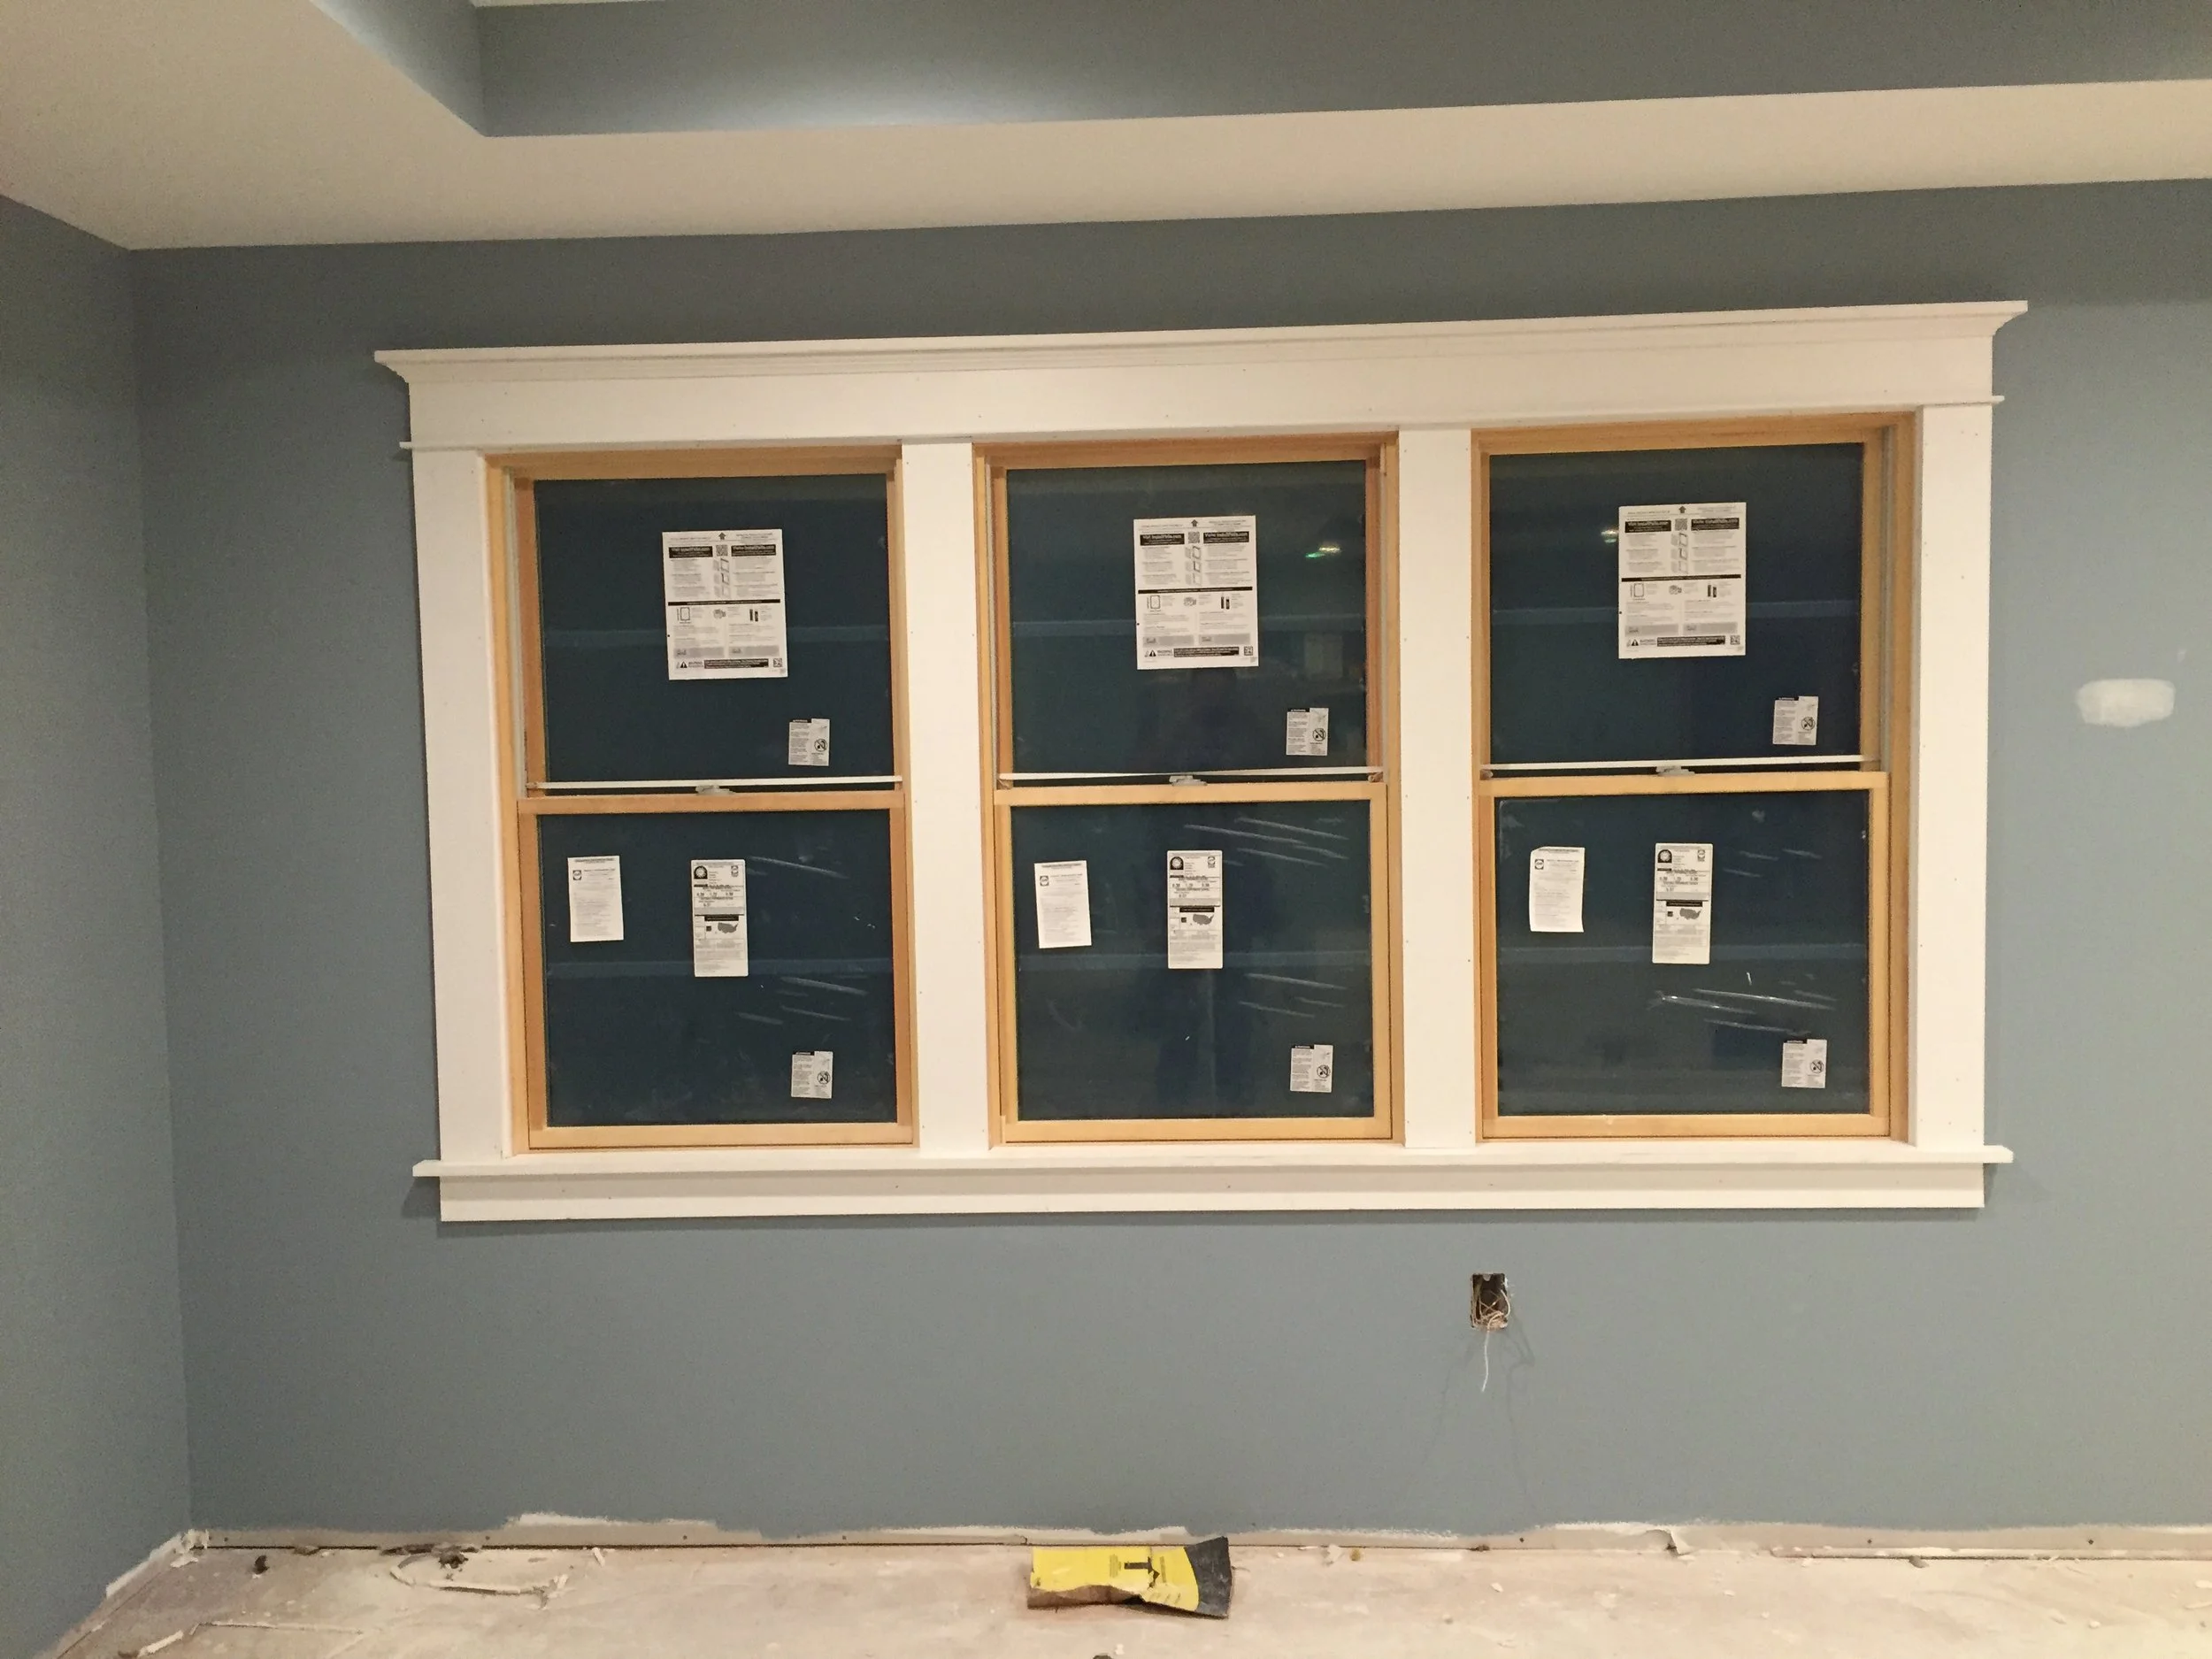
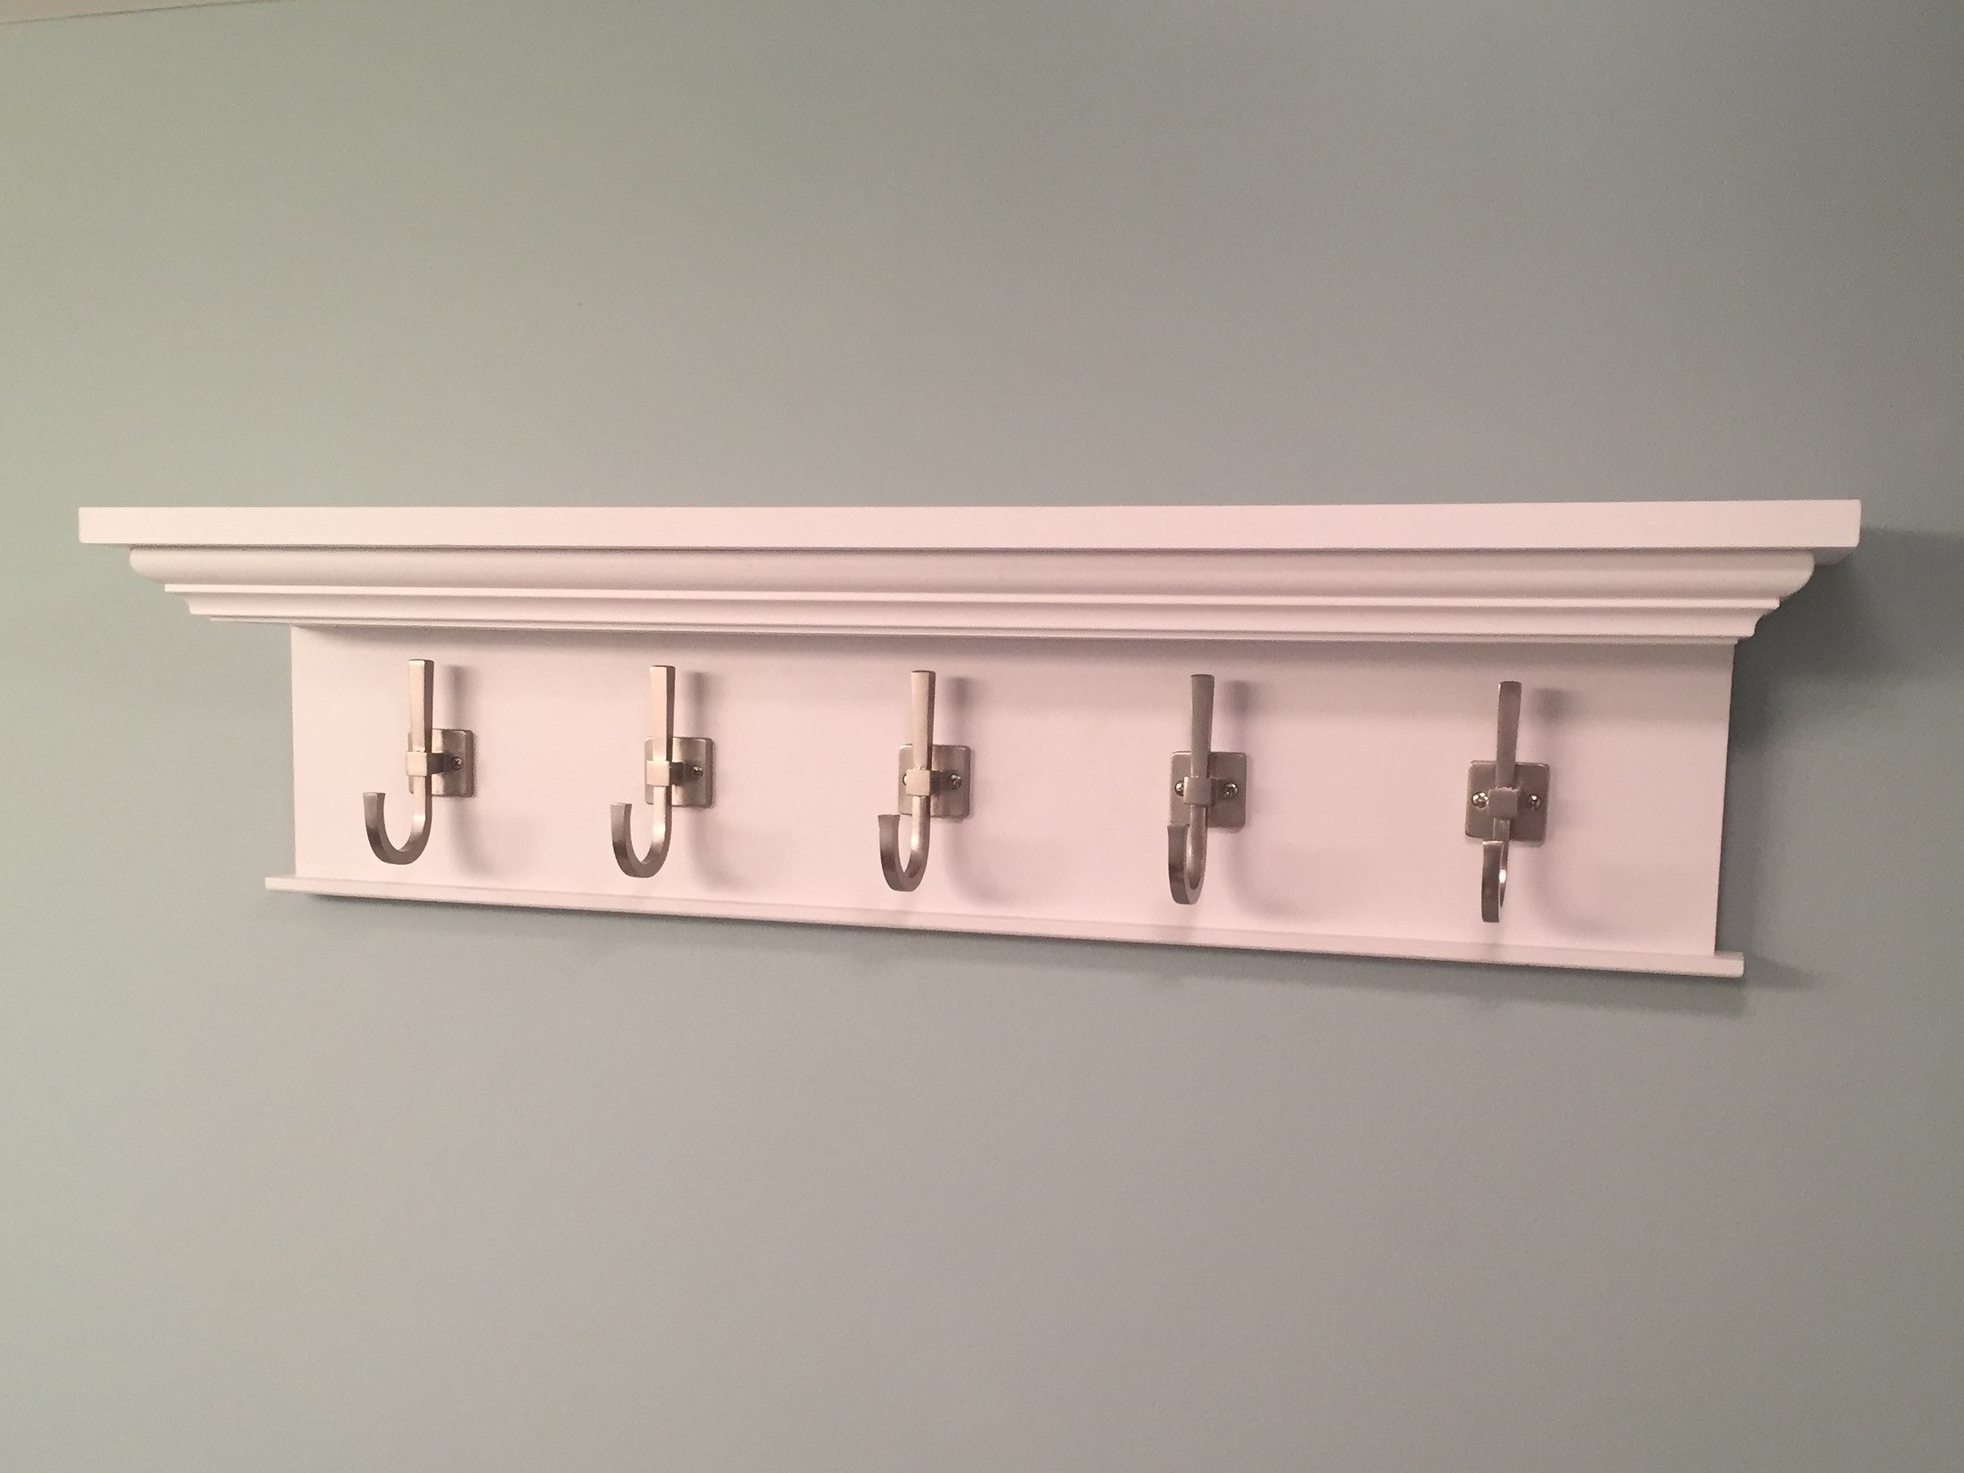
How to Install Wainscoting!

I have always loved craftsman style houses and especially wainscoting, so when I remodeled my house I knew I wanted to have wainscoting in my mud room. In this video I show step by step how to install custom wainscoting and one of my favorite ways to use a Plate (biscuit) joiner.

 How to Install Craftsman Style Trim!

Disclaimer: This is an old video and the audio quality is bad. You have been forewarned!

This is by far the most detailed video I have ever done. It really goes step by step through how to properly trim a window, specifically in the craftsman style.

How to Build Custom Interior Doors!

The ceilings in my basement are lower than normal. Because of this I cannot fit a standard 6’8” door down there. When you order a “custom” size door from the big box store they do not custom build them to your size, they take a standard door and cut off the bottom. In my case, if I was to do that then my doors would have 2” rails at the top and bottom. Because I wanted proportional doors I decided I would build them myself. Over the years I have built many doors. They are expensive and labor intensive. In the time it would have taken me to joint and plane the lumber for custom hardwood doors, I was able to complete these. I started the process by purchasing standard flush hollow core doors. These cost around $25 each. I also bought a few sheets of 1/2” mdf which cost around $20 each. I also used a few boards of poplar that I had laying around the shop. All together each door cost less than $75 and I built all 10 in a day.

IMG_4053.PNG
IMG_4054.PNG
IMG_4055.PNG

I started off by cutting the doors to length and re-coring the bottoms. I then laid out the panel pattern I wanted on the doors and carefully used my track saw to cut out the panels, being careful not to cut past the corners. After finishing the cuts on the front side, I used my Vaughan pull saw to finish the cuts on the opposite side. Once the panels were removed I measured the thickness of the hollow of the door and milled some 2x2 poplar down to fit exactly. I then glued the poplar into the hollow of the door being careful to make it flush with the cuts in the door skin. It took every clamp I had in the shop to clamp the doors up that day and I couldn’t have done it if it weren’t for my harbor freight clamps. They are the best bang for your buck when it comes to 6-12” bar clamps. Once the glue had dried I used a 1/2” rabbet bit in my router to make a rabbet along the back side of the panel holes. I made a few passes until my final depths was 2/3 the way through the door. I then cut panels from the 1/2” mdf to fit inside each rabbeted panel hole. To secure the panel to the door, I cut 1/2”x1/2” square stop and pin nailed it into the door behind the panel. I used my block plane to flush up the stop to the door. At this point all that was left was to hang the doors and then prime and paint.

IMG_4056.PNG
jyjY3VD.jpg

 The Most amazing way to burn a stump!

DISCLAIMER #1: Some geographical areas are better suited for burning stumps than others. Not understanding this can result in disasters such as root fires, forest fires and gas line explosions.

DISCLAIMER #2: The accelerant I used in this video is Kerosene, not Gasoline. If you do this with Gasoline you will more than likely have a very bad experience. Even Kerosene can be dangerous, so if you are not comfortable with this, please do not try it at home!

IMG_E3913.JPG

Ok, now on to the process. This is the same principal as a rocket stove or Swedish torch. I basically drilled a hole through the top of the stump to act as a chimney and then drilled holes from the side to aid in airflow. This resulted in a good hot burn from the inside out that completely removed the stump. I could have used a leaf blower to accelerate the process, but I kind of liked the slow even burn. The key to this process is having a good dry stump, a drill powerful enough to drill a large diameter hole and a large diameter bit long enough to make connecting holes in your stump. I used a Milwaukee hole hawg, this is a commercial drill designed for drilling large diameter holes and will last a lifetime, if you are just wanting a cheap drill to get by with, then you could us this. As for a drill bit, this will do the job.

How to Install a Mop Sink and Sewage Pump!

I wanted to add a mop sink into the mechanical room in my basement. The only problem was that my main sewer line was about 1 foot higher than I needed to be able to tie directly into it. Because of this I had to add a sewage pump as well. This takes the waste from the mop sink and pumps it up high enough to reach a clean out I had installed in my main line.

I think by now it is safe to say that almost everyone owns a flat screen TV. It is so nice to be able to hang the TV on the wall and not need a big clunky entertainment center to house a TV like before. But like all advancements, they do not come with out their challenges. In this video I show you how to hide the wires for you TV in the wall.

Capture.JPG

This is a relatively easy process that almost any homeowner can do. Also I want to point out that this method only works in wood frame construction with drywall interior. This is a common build method in the united states.

I started by cutting out two holes that were the same size as the Low voltage Old Works boxes that I was using. The boxes are needed so that you have something for the faceplates we will be installing later to screw into. The first hole I cut behind where the TV will be and I cut it horizontal as opposed to the typical vertical installation. I did this because when the wires are coming out of the brushed faceplate, if it is installed horizontally they are easier to line up and organize. For the bottom hole, I installed it vertically so that it would match all of the other outlets installed throughout the house.

Before installing the old works boxes I went ahead and pulled all of the wires. This may seem counter intuitive, however, without the box installed the hole in the wall is just big enough that I can get my hand through it which makes it a lot easier to run the wires. If I install the box first it makes it a lot harder to get the wires installed. It probably doesn’t need to be said, but always start your wires from the top hole and feed to the bottom. Let gravity do the work for you. I also like to tape the wires together so the heavier wires can help pull down the lighter ones. After i had all of the wires in the wall that I wanted, I then ran them through the old works box and installed it into the wall.

The last step before before hanging the TV back on the wall is to install the brushed faceplates. They have a rectangle hole in them approximately 1 inch by 2 inches. The hole is filled with a white brush material so that it adapts to the amount of wires you need to pull through. It makes for a very finished custom look and in my opinion is the most important part of this job.

A Custom Towel Rack and Shelf!

IMG_3259.JPG

My wife had been looking at towel racks, but was having trouble finding one that had five hooks, a shelve to put decorations on and fit the decor of the house. What more could a woodworker ask for? So I purchased some Nickel Coat Hooks from amazon and used some scrap from when I trimmed the house and presto! Happy wife, happy life!

IMG_3215.JPG
IMG_3260.JPG